|
Jake and the Migration
of the Monarch
* Butterfly Tracer *
|
|
|
Back to Visual Arts Page
Materials:
Butterfly pictures
Lg. Butterfly tracers (made out of poster board)
18x24 black paper (color of paper is optional, depending on the results wanted)
glue bottles
chalk or construction paper crayons
(if using white paper, you can use paint, markers, glitter, etc.)
scissors
 Procedures:
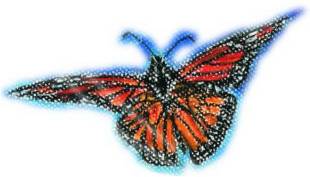
- Begin lesson by talking with students about butterflies. Show examples of butterflies. Explain symmetry to students. I tell students that what happens on one side happens on the other in
butterfly's wings. Show them this!
- Students pick a tracer that they like. Students trace the outside shape of the butterfly on their paper. Next, students draw lines and shapes in the wings of their butterflies to create a pattern. Remember to have students draw symmetrically. What they draw on one side they MUST draw on the other! Example, if they drew a circle in the top left wing, they must draw a circle in the top right wing.
- After their wings have a pattern that is symmetrical, students will begin to trace on top of their pencil lines with glue.
- After the glue has dried students are ready to begin coloring in their butterflies. Students must color symmetrically. What they color on one side, they must color on the other! You may use
chalk (which can be messy) or construction paper crayons
(which look great on dark paper).
- Have students carefully cut out their butterflies and display!
|


|
|